Hi everyone, it's been almost 8 months since I last posted!
Gosh, it's a wonder I still have any followers left!
When I last posted in August, I knew that the next time I post would be in September, as I had a lot of birthdays that month, I guess I just never got around to it, and figured, 'oh I will post the pics at Christmas when I so my Christmas cards', however, my Christmas cards didn't photograph very well at all! So I though, 'ahhh screw it, not posting these pics'. On a better note, I got an awesome camera for Christmas!
Then in January, I got some news that would change my life forever.
At the time, I had taken up cross stitching again, which is another reason why I hadn't posted here, but I digress, (I will keep the story short and skip out a lot of details)...
In the early hours of 16th January, my younger brother went missing after a night out in the town with a friend.
At around 00:30, he became seperated from his friend, at this point he must have decided to make his way home. He was last seen about an hour later by a policeman, but because he wasn't aggressive he wasn't taken in, and because he wasn't paralytic no ambulance was called.
Yes, Steven had had a drink or two, but he wasn't a big drinker, so alcohol probably affected him quicker than some people.
The next two days there was an extensive police search including the force helicopter, dogs, police divers and boat, policemen on foot and horses. And of course all his friends and other people who knew Steven, and even people who didn't.
Sadly, on the 19th January Steven was found by a member of the public walking their dog, floating in the river.
When the ambulance arrived he was pronounced dead.
He had accidentally drowned.
Just one night and my baby brother was gone.
We had his funeral on the 2nd February, and we are trying to get back to normal now, though life without Steven will never be normal.
 Steven, 08/03/88 - 19/01/11 - Aged 22
And this is why I am back. Steven always liked getting my handmade cards, (probably mostly for the money included in them though lol), and he wouldn't want me to stop doing something that I love, plus I have decided to start selling my cards for charity, one of which will be RASS
riverandseasense.com which I have recently become involved in.
Anyways over the next few days you might see some changes to my blog, I thought it was time for a new layout. I am happy with this one, but I want to change this white part to a pink colour, but I can't see in the code where it is, so I will have to have a play with that.
Also, as I mentioned earlier, I got an awesome camera for Christmas (I also got a Robo Lite!!!), so I have re-taken pictures of cards that I still had in my possession, so I will re-post those over the next few days.
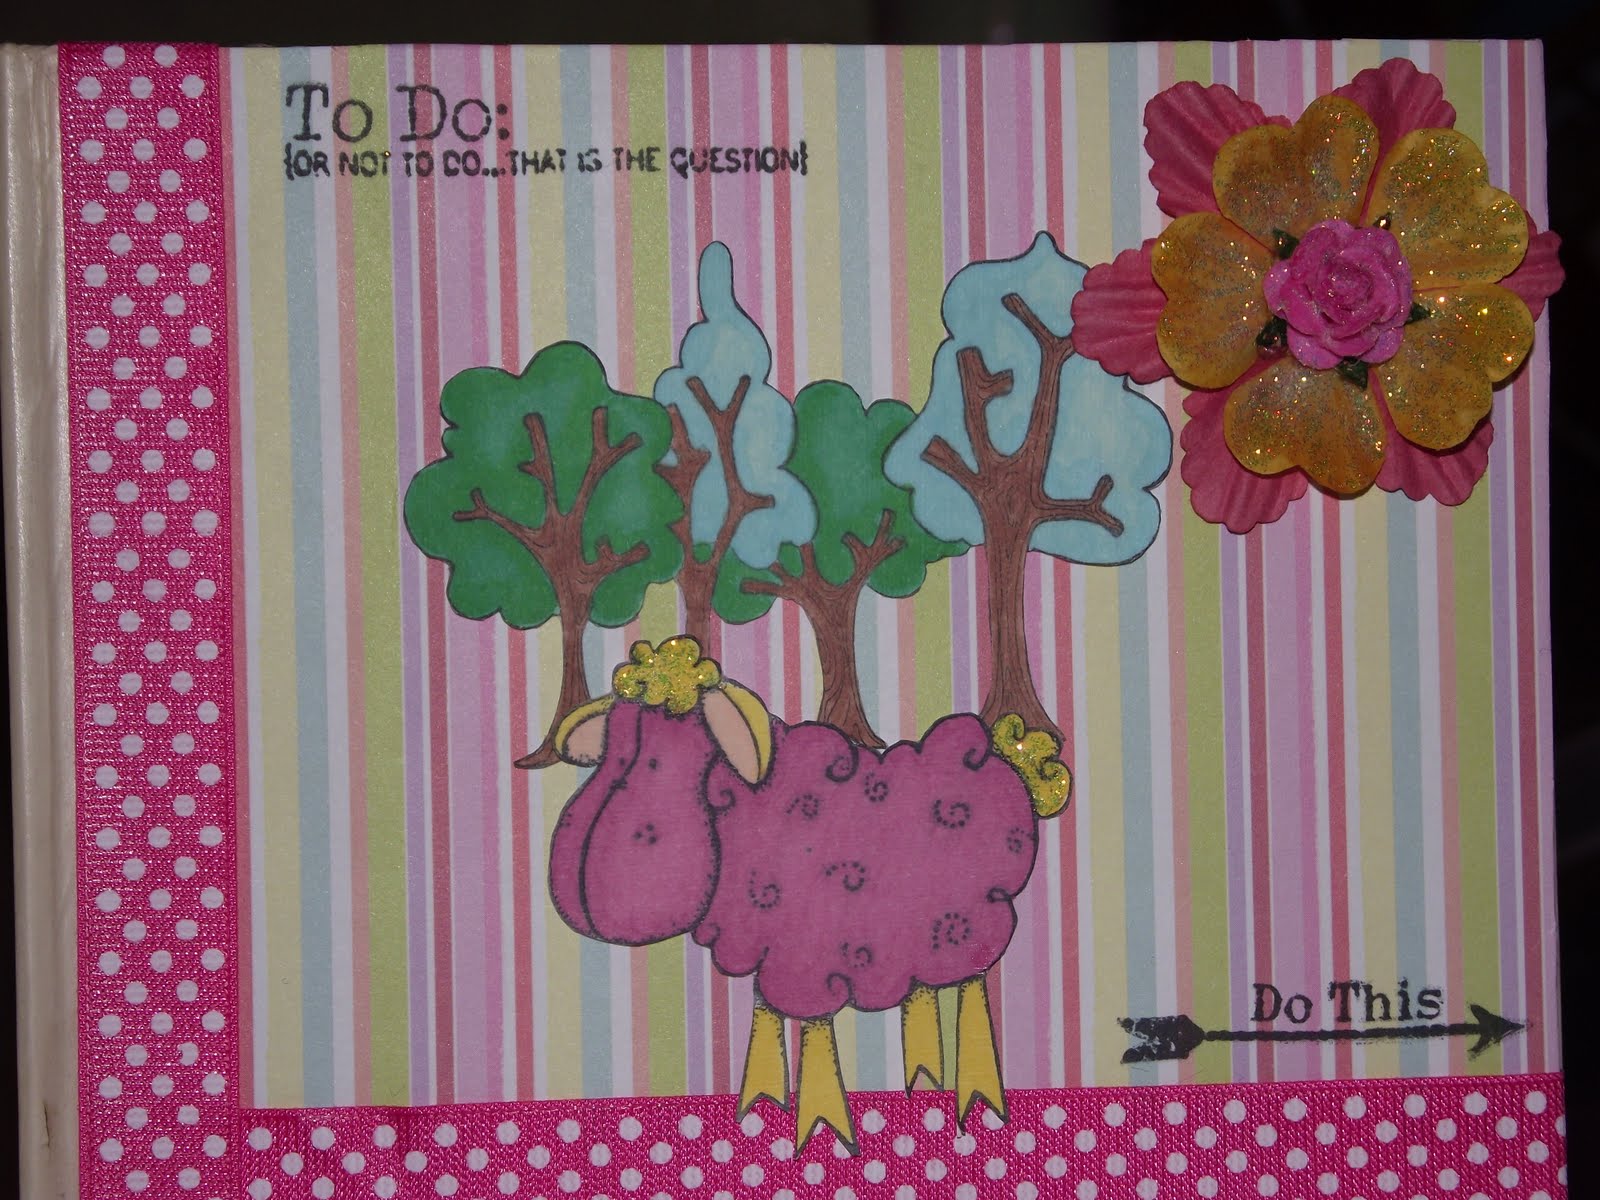
Anyways, first up is a card I made for my Mum for Mother's Day. Which came as a complete card kit in a magazine, though I chose to omit the card it came with, and used my own.
Remember you can click on the image to view in full detail, and now that I have a new camera, the full versions won't be all crappy and blurry lol
I made a bit of a mistake in the top left corner, so I covered it over with a prima flower lol
I would like to enter this card in to the following challenges:
And that is all for now.
I will be back with more posts later!
PS. I am having a hard time trying to follow blogs at the moment, but I will keep trying!